Even before we receive your art for custom framing, the super important first step of the process happens in your home: You measure it.
Correctly measuring artwork to be framed is key, especially now that we offer a Frame Only option for purchase on our site (which means that you give us the dimensions, we ship the frame, and you insert the art yourself).
We want you to be thrilled with the final product, whether you’re framing something as small as a postcard or as large as an oversized print. We offer our core collection of frames sized up to 40x60” and our Black Label frames up to 48x72”—the largest in the online framing industry. Here’s a quick guide with tips to help you get the numbers right.
Step 1: Gather your supplies.
To measure your art for custom framing, you’ll need a measuring tape or ruler; a large, clean, flat surface on which to lay your art; and possibly some sort of weight (heavy books work well) to anchor the corners of your piece if it’s been rolled or folded. You’ll also need a pencil and paper or other tools to record the measurements. If your piece is very valuable or delicate, we recommend wearing protective gloves when handling your artwork. If your short on supplies? Check out our Tool Kit.
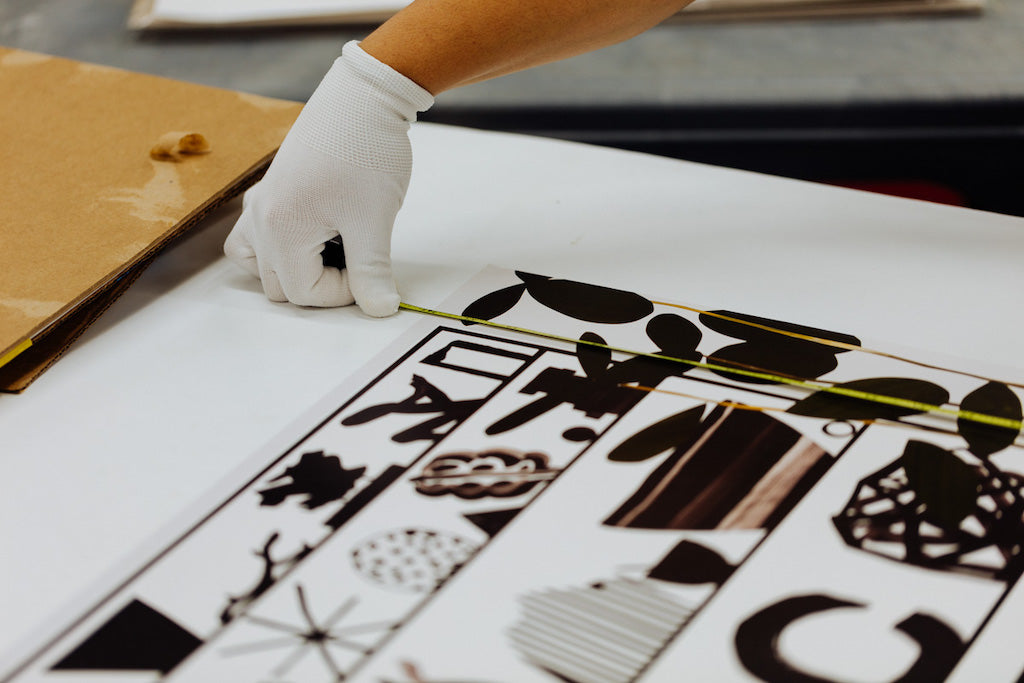
Step 2: Prep your surface.
Once you have your supplies together, lay your art flat, face up, on your clean surface and anchor the corners using heavy books or other household items. (Just make sure they’re clean!)
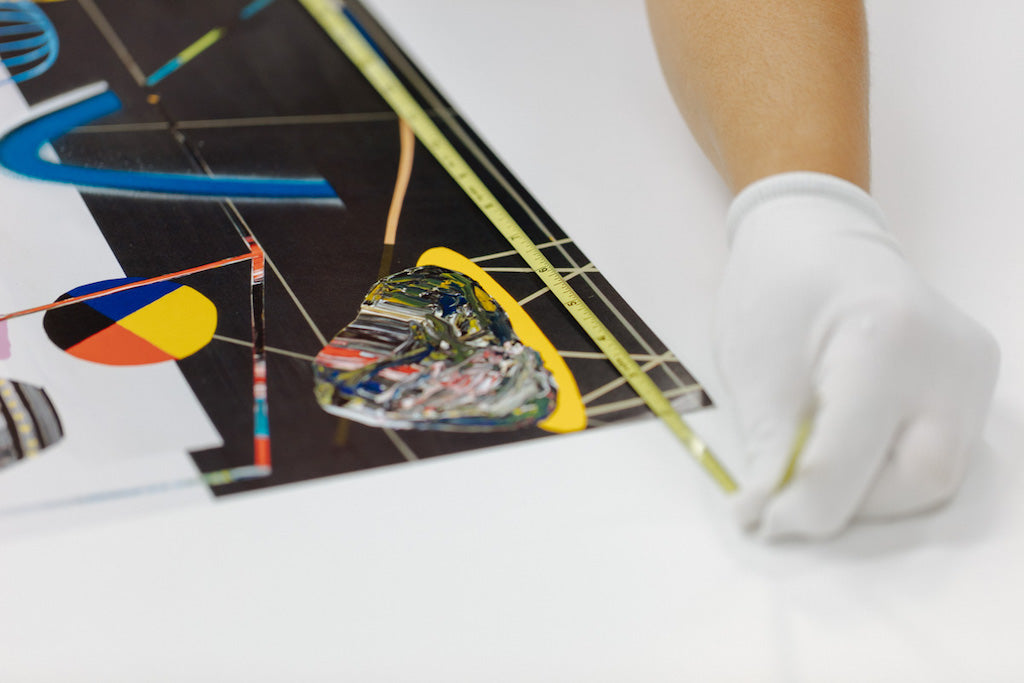
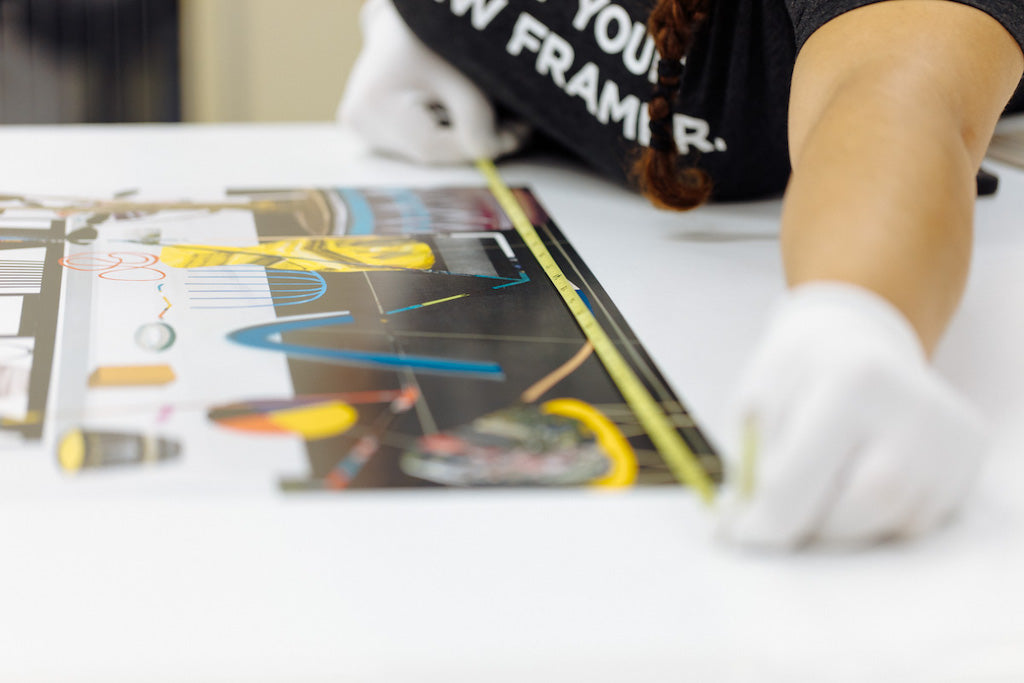
Step 3: Measure.
Line up your measuring tape with the edges of your art to find the following measurements: width (horizontal) and height (vertical).
While taking your measurements, please keep the following details in mind:
- We measure our frames in inches, so we need your art’s dimensions in inches as well. If you need to convert from centimeters, use an online calculator.
- We cut our frames and mats to the nearest ⅛”. If your exact measurement ends with a 16th, round up.
- We never put a frame into production until we’ve double checked your art’s measurements. However, we’re not able to do this with Frame Only orders, so we need you to do the double checking on those!
- If we’re doing the framing, it’s vital that we know the orientation of your artwork (i.e. portrait vs. horizontal, and which side is up.) Sometimes it’s obvious (due to the subject matter or if there’s a signature in the bottom corner) but sometimes it’s not. Be sure to include orientation instructions when you place a Full Service order—a form will pop up asking for these details before you add your Full Service order to your cart.
- The dimensions of your art will determine how you can send it us—and for Full Service custom framing orders, we’ll only show you the mail-in methods available for your art’s dimensions.
- Flat Mailers can be used for flat pieces up to 11x14”.
- Tubes are available for pieces that can be rolled, up to 40x60”.
- Boxes are sent for pieces that cannot be rolled, up to 30x40”.
- Art en Route means you will handle shipping your artwork and we will not send you packaging or a label.
Step 4: Figure out your mat size.
All Simply Framed mats are custom, to allow for better flexibility and give each customer exactly what they want. Click here if you’d like help selecting a mat size that will look great with your art and frame. If you’re floating your art, we typically recommend adding 1.5” all around for all sizes of art.
If you’re placing a Frame Only order with a single mat, you can leave the calculations to us. Just give us the measurement of the full width and height of your artwork, and we’ll cut the mat to overlap the edge of the art by 1/8”.
Eager to get started? We’re ready whenever you are! Find your perfect custom frame at simplyframed.com.